A double girder bridge crane is a critical piece of lifting equipment widely used in manufacturing, steel plants, warehouses, and logistics centers. Proper installation is essential not only for equipment performance but also for workplace safety and long-term reliability.
This guide provides a comprehensive, practical, and field-oriented double girder bridge crane installation procedure, designed for technicians, engineers, and international buyers seeking clear installation instructions for their project sites. It also includes essential safety notes, wiring tips, and post-installation inspection requirements.
Before any bridge crane installation work begins, ensure the following conditions are met:
Carefully check all delivered components against the packing list, including:
Any missing or damaged parts should be reported immediately before installation progresses.
Confirm the following documents:
This ensures all components match the design requirements and site layout.
 |
 |
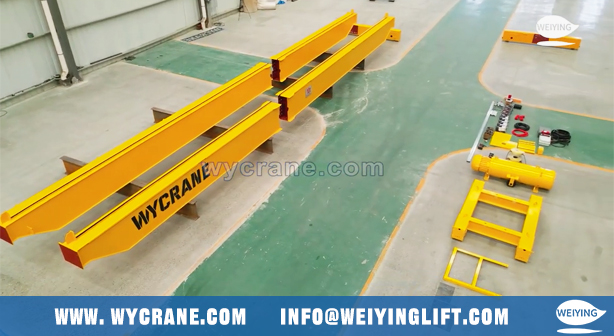
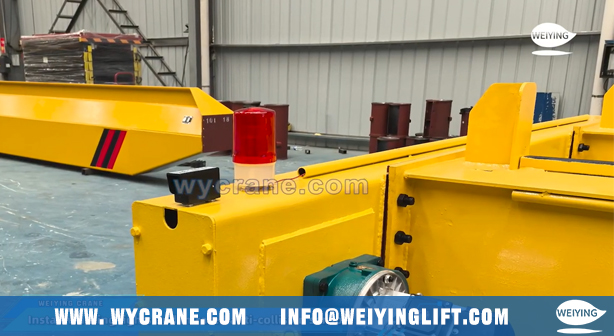
Lay the double girders on level ground with adequate support. Connect all structural elements according to the manufacturer’s assembly drawing.
Check:
Accurate alignment at this stage ensures smooth hoist trolley movement later.
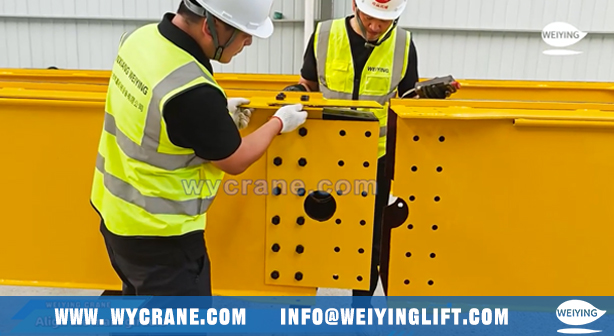
Position the end beams at both ends of the main girders and connect them securely.
Important checks:
This step forms the complete crane bridge structure.
Buffers (rubber or hydraulic) are fixed at the ends of the crane to prevent collisions.
Ensure:
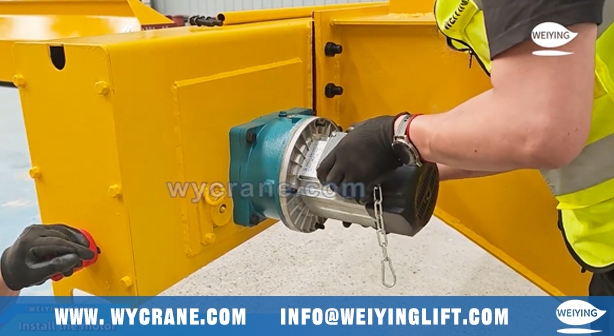
Mount the main travel motors on both sides of the end beams. Adjust the coupling and shaft alignment to ensure smooth power transmission.
Connect the reducer to the travel motor and wheel set.
Key checks:
Proper assembly ensures stable crane travel and reduces wear.
 |
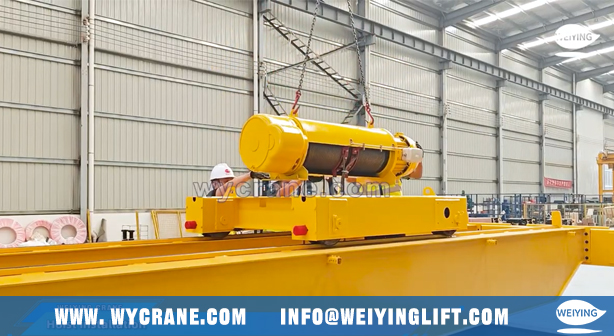 |
Lift the trolley frame onto the bridge using a mobile crane or forklift.
Ensure:
Mount the hoist (wire rope hoist or custom hoist mechanism) onto the trolley.
Inspect:
Attach the trolley travel motor and gearbox to the trolley frame.
After installation:
This ensures smooth and accurate hoist trolley movement during operation.
 |
 |
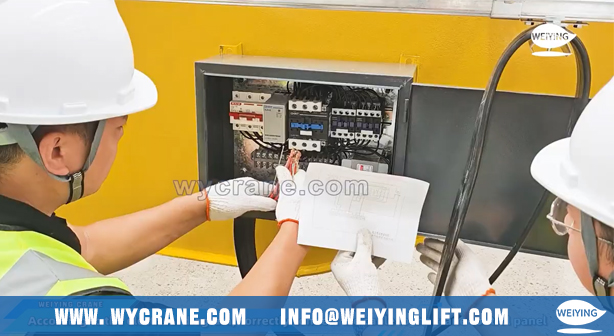
Electrical installation is a major part of overhead crane installation, requiring accuracy and compliance with safety standards.
Mount the C-track or drag chain along the girder according to the design.
Make sure:
Fix the crane control panel on the designated girder platform.
Requirements:
According to the electrical wiring diagram:
A wrong phase sequence may cause reverse movement.
Mount the hoist electrical box onto the trolley frame.
Check:
Follow the provided electrical schematic to connect:
Cable routing must be neat, secure, and free from friction or sharp edges.
These are essential safety devices for modern bridge crane installation.
Requirements:
Once the mechanical and electrical work is completed, the crane can be lifted onto the runway beams. Typically, two mobile cranes are used to ensure balanced lifting. The crane should be hoisted slowly and lowered gently onto the tracks, ensuring all wheels properly sit on the rails. After placement, the wheel pressure balance is checked, and any necessary adjustments are made to ensure stable and smooth long-travel movement.
Make sure all limit stops and end rails are installed before performing travel tests.
A comprehensive test ensures successful overhead crane installation.
Record all test results for customer documentation.
The above procedure outlines a complete, professional, and practical method for double girder bridge crane installation, covering structural assembly, electrical wiring, hoist integration, and safety device installation.
Whether used for factory workshops, manufacturing lines, or heavy-duty industrial applications, proper overhead crane installation guarantees long-term stability, improved efficiency, and enhanced workplace safety.
If you need a more detailed illustrated Installation video, operation manual, or English product listing for global buyers, feel free to ask!
>Overhead Crane Safety Operation Guide
>5 Ton Overhead Crane: A Comprehensive Guide to Choosing the Right Equipment
>Overhead Crane Anti-Swing System: How Does It Reduce Accidents and Improve Efficiency?
>Understanding Overhead Bridge Crane Load Capacity and Why It Matters
Installation time varies depending on crane capacity, site conditions, and the level of pre-assembly completed at the factory. For most standard industrial projects, a complete overhead crane installation (including mechanical assembly, electrical wiring, and commissioning) requires 3–7 working days. Larger cranes or complex environments may take longer.
Common tools include torque wrenches, alignment tools, measuring tapes, electric drills, cable cutting tools, and insulated screwdrivers. Lifting equipment such as forklifts or mobile cranes is also needed to lift and position the bridge, trolley, and hoist. Electrical installation requires testers such as multimeters and insulation-resistance meters.
Users must ensure that the power supply meets voltage and frequency requirements and that runway conductor bars (or cable power supply systems) are installed according to the drawings. A stable grounding system is essential to maintain equipment safety and reduce electrical faults.

With 34 years of manufacturing experience and 12 years of export expertise, we have built a dual advantage of professional qualifications and a global presence. Our business covers more than 100 countries and regions across Asia, Europe, the Americas, Africa, and Oceania. We are certified under the ISO management system and hold CE product certifications. Our main product lines include six major series—electric hoists, electric winches, gantry cranes, bridge cranes, marine cranes, and portal cranes—comprising nearly 100 different models.
If you want to learn more, please contact us.
E-mail address: info@weiyinglift.com
Website: www.wycrane.com
